Start by disassembling the helmet and cleaning it thoroughly. Sand the surface gently, remove dust, and apply a plastic adhesion promoter. Spray on a primer, apply thin coats of paint, and let dry between coats. Finish with a clear coat for protection and reassemble the helmet.
Step 1: Disassemble the Helmet
Remove all components, including face mask, chin strap, padding, and screws. This ensures none of these parts are affected during the painting process.
Step 2: Clean the Helmet
Wash the helmet with soap and water, and if needed, use a degreaser to remove stubborn grime, followed by a thorough rinse. Make sure the helmet is dry before proceeding.
Step 3: Sand the Surface
Using fine-grit sandpaper (320 or 400), gently sand the helmet’s surface. This removes the glossy finish and promotes better paint adhesion. Wipe off dust with a tack cloth.
Step 4: Apply Plastic Adhesion Promoter
Spray the helmet lightly with a plastic adhesion promoter. Allow it to dry according to the product’s instructions.
Step 5: Prime the Helmet
Using a spray primer specially formulated for plastics, apply a thin, even coat. Allow it to dry as per the manufacturer’s instructions. Apply additional coats if needed, waiting for each to dry before proceeding.
Step 6: Mix and Apply Paint
Choose a high-quality enamel or acrylic paint designed for plastics. Mix the paint according to the instructions, adding a paint reducer if necessary to achieve a smooth consistency.
Step 7: Paint the Helmet
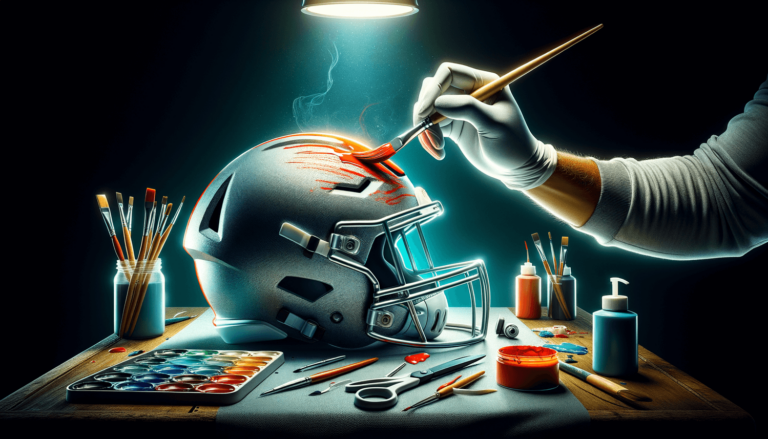
Apply thin coats of paint to the helmet using a spray gun or an airbrush, allowing each coat to dry before applying the next. Repeat the process until you achieve the desired appearance and coverage.
Step 8: Apply Clear Coat
After the paint has dried completely, apply a clear coat to protect the paint and give the helmet a finished look. Allow the clear coat to dry before handling the helmet.
Step 9: Reassemble the Football Helmet
After the clear coat has dried and cured, carefully reassemble the helmet and its various components.
Step 10: Add Decals or Stickers
If desired, personalize your helmet with decals, stickers, or custom graphics that represent your team or individual style. Make sure to place these firmly on the helmet’s surface, ensuring there are no bubbles or wrinkles.
Step 11: Buff the Helmet
Gently buff the entire surface of the helmet with a microfiber cloth to remove any dust or smudges and create a smooth, glossy finish.
Step 12: Allow Paint to Cure
Give your painted helmet enough time to cure fully. Follow the paint manufacturer’s recommendations for the curing process, which typically requires a waiting period of a few days to a week before the helmet is ready for use.
Step 13: Inspect and Replace Components
Inspect all helmet components, including padding, chin strap, and face mask, for signs of wear or damage. Replace any worn or damaged parts to ensure that your helmet is safe for use on the field.
Step 14: Store Your Helmet Properly
Proper storage is crucial for maintaining your helmet’s appearance and functionality. Store your helmet in a cool, dry place away from direct sunlight, which can cause the paint to fade or crack over time.
Maintenance Tips
Keep your helmet looking and performing its best by cleaning it regularly, inspecting components for wear, and avoiding impacts or scratches that could damage the paint. If you need to touch up the paint or make repairs, follow the same steps as outlined above for optimal results.
FAQ Section
Here are some frequently asked questions and their answers related to painting a football helmet:
What type of paint should be used for a football helmet?
Use high-quality enamel or acrylic paint designed specifically for plastics. These paints are formulated to adhere to plastic surfaces and provide a durable, long-lasting finish.
How long should I wait between coats of paint?
Allow each coat of paint to dry completely before applying the next one. The drying time will vary depending on the paint and environmental conditions, but on average, it should take around 10-20 minutes for each coat to dry.
Can I use a spray paint can instead of a spray gun or airbrush?
Yes, you can use spray paint cans designed for painting plastic surfaces, but be sure to apply thin, even coats with proper technique to avoid drips and achieve a professional-looking finish. Using a spray gun or airbrush provides better control over paint application, but careful application with a spray can also yields satisfactory results.
How long does the paint need to cure before using the helmet?
The curing time depends on the paint used and environmental conditions. Typically, you should wait a few days to a week before using the helmet. Follow the paint manufacturer’s recommendations to ensure proper curing and durability of the paint.
How do I maintain the painted helmet and ensure its durability?
To keep your helmet looking fresh and maintain its durability, clean it regularly, inspect components for wear or damage, and store it in a cool, dry place, away from direct sunlight. Avoid impacts or scratches that could damage the paint, and touch up when needed using the same steps discussed in the article.
Featured Posts
- No pillar pages found.
